The LHV Gateway extension for WooCommerce allows your customers to securely check out using their LHV account.
Note: This product has been retired and is not for sale. Documentation is no longer being updated.
Requirements
↑ Back to top- LHV Merchant account
- Euro set as your store’s currency
Installation
↑ Back to top- Download the .zip file from your WooCommerce account.
- Go to: WordPress Admin > Plugins > Add New and Upload Plugin with the file you downloaded with Choose File.
- Install Now and Activate the extension.
Setup and Configuration
↑ Back to topLHV credentials
↑ Back to topopenssl genrsa -out private_key.pem 2048 openssl req -sha1 -new -key private_key.pem -out csr.pemYou will be asked for a series of data for the certificate:
- Country [AU]: 2-letter country code. Example: EE
- State or Province Name (full name) [Some-State]: your company state/province. Example: Harju maakond
- Locality Name (eg, city) []: your company city/town/village. Example: Tallinn
- Organization Name (eg, company) [Internet Widgits Pty Ltd]: Example: Nööbid & Kindad AS
- Organizational Unit Name (eg, section) []: Can be left empty, but you can also enter “banklink” (without the quotes)
- Common Name (e.g. server FQDN or YOUR name) []: the domain name of your store. Example: www.mysuperawesomestore.com
- Email Address []: merchant’s (your) email address. Example: johndoe@example.com
- A challenge password []: leave blank (press Enter)
- An optional company name []: leave blank (press Enter)
Protect your private key! Under no circumstances should you send it, or share it with anyone. This is something that only you should have access to.
If you are having trouble using Terminal/Shell/Command Line, try generating the private key and CSR online. Note that this is not the recommended method – do this at your own risk!
Extension settings
↑ Back to top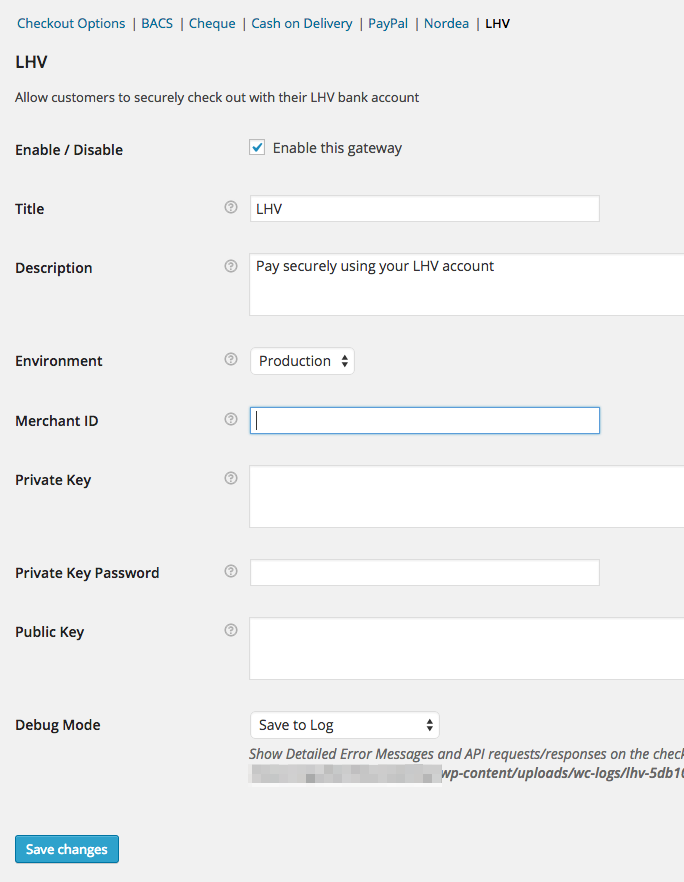
- Enable / Disable – Enable if you are ready to go live.
- Title – Displayed to customers during checkout and on the Order Received page.
- Description – Displayed under the title during checkout. Limited HTML is allowed.
- Environment – Switch between “Test” and “Production” credentials. Enable “Test” to send transactions to the bank link test service.
- Merchant ID – Merchant ID sent to you by LHV. For Test mode, this is the Merchant ID for your bank link test service. Follow the steps below to get this.
- Private Key – Private key you generated for LHV. For Test mode, this is the private key generated by your bank link test service. Follow the steps below to get this.
- Private Key Password – Private key password if you used one (Production or Test).
- Public Key – Public key / certificate for LHV in your country. LHV will provide it to you after signing the contract. For Test mode, this is the public key for your bank link test service. Follow the steps below to get this.
- Debug Mode – Enable if you are having issues processing transactions. Either log API requests / responses directly to the checkout / thank you page, save them to the WooCommerce Error Log (found at WooCommerce > System Status > Logs) or both. All debugging messages are cleaned of sensitive information before display, but as a best practice, do not enable unless you are having issues with the plugin.
Test Mode
↑ Back to top- Choose the appropriate Banklink for your country and bank from the list. Example: LHV Estonia Test
- Click Certificates
- Copy the following to the gateway settings and save:
- Copy Merchant ID to Test Merchant ID field.
- Copy Merchant’s private key to Test Private Key field.
- Copy Bank’s certificate to Test Public Key field.
All test payments are publicly visible to everyone using the Banklinks service. If you need to keep your test payments private (including the payment parameters and origin server), use the stand-alone version (Estonian only) instead.
Usage
↑ Back to top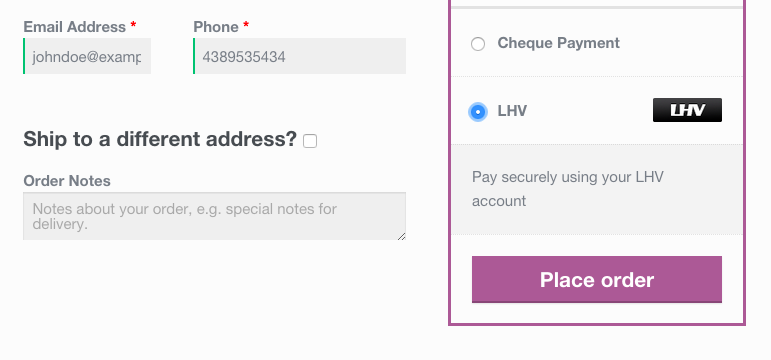
Troubleshooting
↑ Back to top- Verify your Merchant ID, Private Key and Public Key are correct.
- Double-check your Merchant ID, Private Key and Public Key are correct.
- Enable only WooCommerce and LHV using a WordPress default theme to see if the issue persists.
- Submit a support ticket and tell us what happened when you took these steps.