The Paymill payment gateway extends WooCommerce and allows you to take payments directly on your store via Paymill’s API.
Note: This product has been retired. Documentation is no longer being updated.
Required
↑ Back to top- An SSL certificate
- Paymill account. Sign up at Paymill – Register.
Installation
↑ Back to top- Download the .zip file from your WooCommerce account.
- Go to: WordPress Admin > Plugins > Add New and Upload Plugin with the file you downloaded with Choose File.
- Install Now and Activate the extension.
Setup and Configuration
↑ Back to top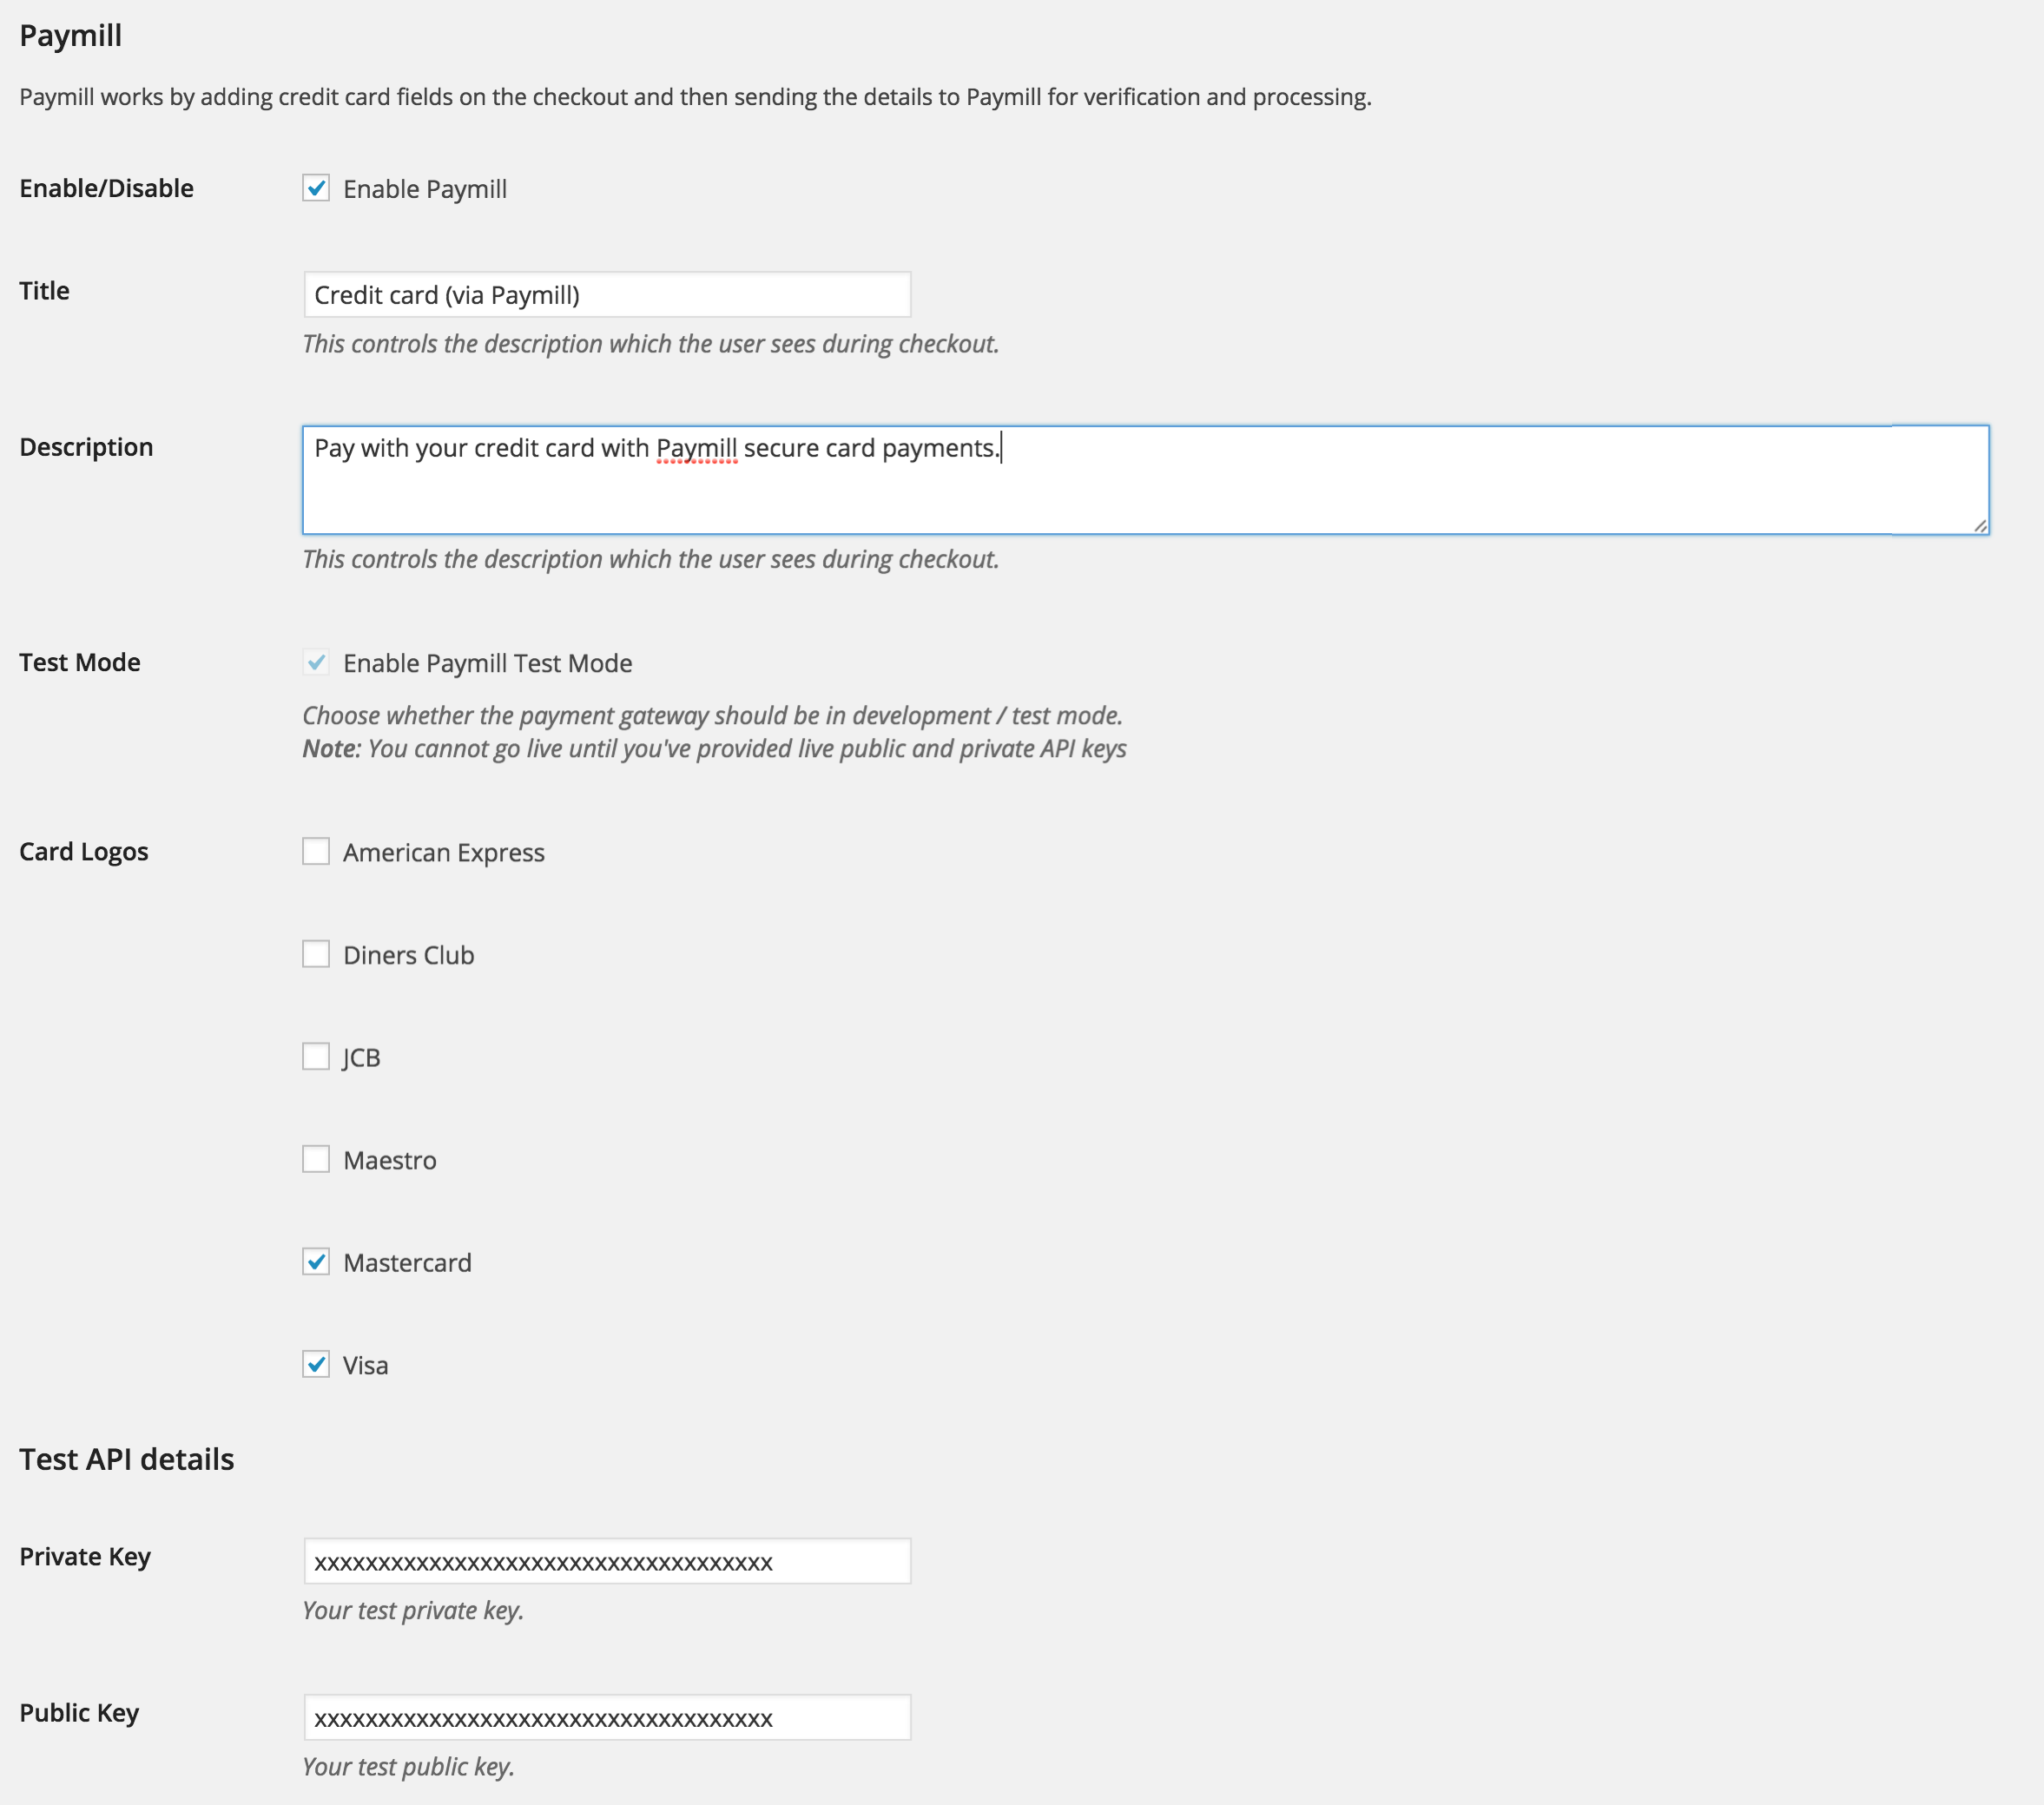
Customer Usage
↑ Back to top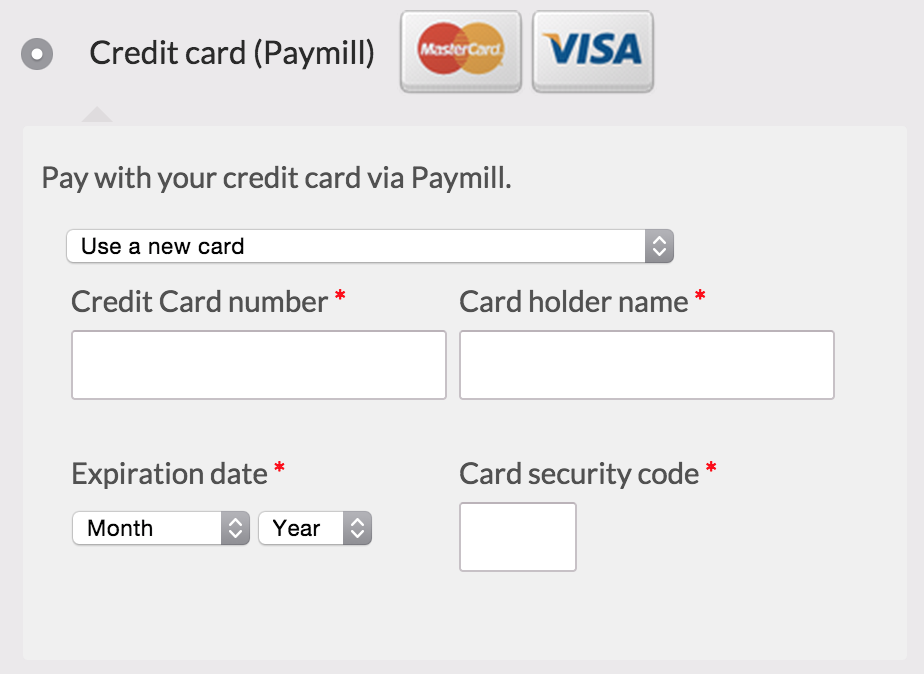
FAQ
↑ Back to topThe method is not showing
↑ Back to top- You haven’t entered your Paymill API keys
- You’re in a country that isn’t supported by Paymill. You can check the list of supported countries on Paymill’s site
- You’re using a currency that isn’t supported by Paymill. You can check the list of supported currencies on Paymill’s site