↑ Back to top
The Subscribe & Connect plugin can be downloaded from the WordPress plugin repository or from your WordPress Dashboard via Plugins > Add New and searching for Subscribe & Connect.
If you are not familiar with how to install a plugin, please see our video at: How to Install a Plugin.
↑ Back to top
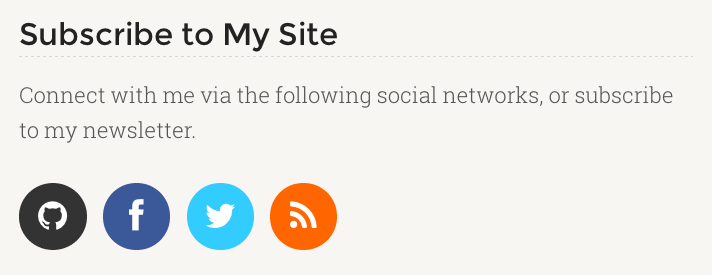
Specify the content which precedes the actionable subscription and connection links. You can set a title and a description. Both of these options are optional.
↑ Back to top
This tab governs which subscription options you provide, and which social networks you promote visitors to connect with you on.
Social Networks
Input your social network profile URLs in the fields provided (e.g. http://twitter.com/woocommerce). Any URLs you provide will be displayed on the front end.
Subscription Options
Subscribe & Connect enables the option to have your visitors subscribe to a newsletter, using one of the many popular online email list management services.
The following services are supported:
Aweber
When integrating with Aweber, a List Name is required. This is the list, in Aweber, to which your visitors will be added.
To find your list name, please see this article in Aweber’s knowledge base.
Campaign Monitor
When integrating Campaign Monitor, a form action URL is required. To retrieve this, create a new form in Campaign Monitor. Once created, click the get the code button. In the code provided, there is a <form> tag. Inside this tag is a parameter by the name of action. This action parameter contains a URL which looks something like this:
http://clientname.createsend.com/t/1/s/d/
This is your form action URL.
Feedburner
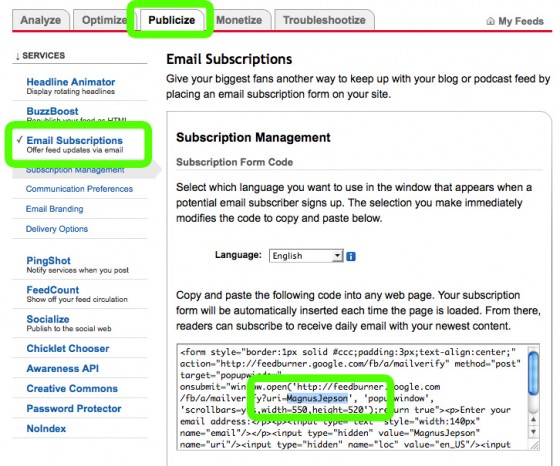
To integrate FeedBurner subscriptions, enter your FeedBurner Feed ID into the FeedBurner Feed ID field.
Find your FeedBurner Feed ID:
Log into your Feedburner account
Click Publicize in the main menu
Click Email Subscriptions and activate, if not already active.
Look at the embed code and find your ID after the ?uri=
When creating a new web form in Mad Mimi, a web form URL is provided, which looks something like this:
https://madmimi.com/signups/subscribe/12345
Paste this URL into the Mad Mimi Webform URL field, to integrate Mad Mimi newsletter subscriptions.
Mailchimp
When integrating with Mailchimp, use our Mailchimp List URL finder tool to find your Mailchimp List Subscribe URL and insert this into the Mailchimp List Subscription URL field within Subscribe & Connect.
You can also choose to include a link to your RSS feed along with the social network links.
↑ Back to top
On this tab you can configure the Subsribe & Connect display settings.
Display Method
Do not display – Will not display the Subscribe & Connect component.
Display beneath posts – Will append the Subscribe & Connect component to the end of your blog posts, on the single post page. This is done via the the_content() filter.
Use the woo_post_after hook provided by your WooTheme (recommended) – You will see this option if you’re using a WooTheme and is the recommended display method in that case.
Design
Here you can specify which ‘theme’ to use to display the social network icons.
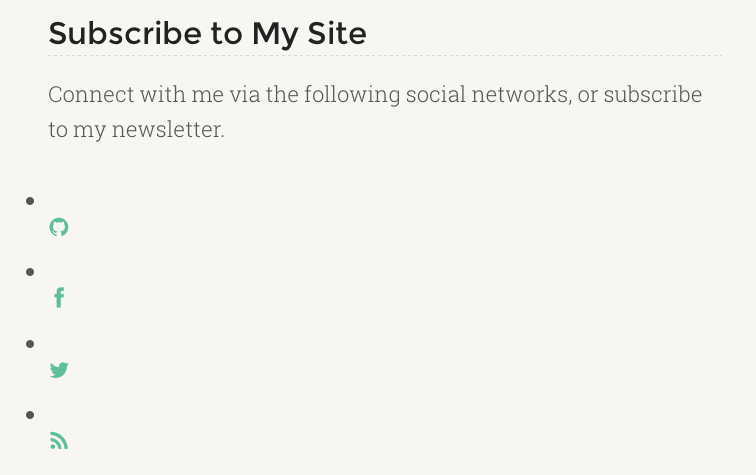
No Style – Will just display the icons in an un-ordered list with no CSS applied.
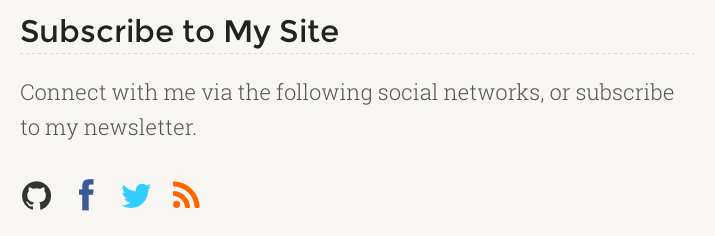
Icons Only – Will display the icons in a row with applicable color scheme.
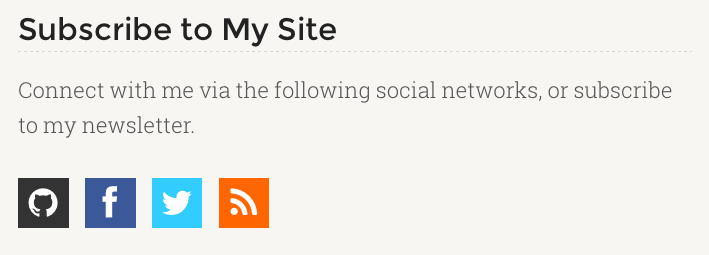
Boxed – Displays the icons in a row with each icon in a box of appropriate color.
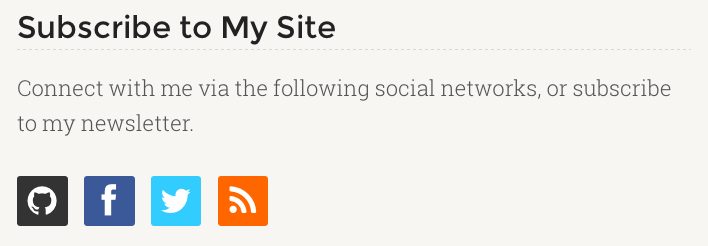
Rounded – Same as the ‘Boxed’ option except the boxes have rounded corners.
Circular – Displays the icons in a row with each icon in a circle of appropriate color.
No StyleIcons OnlyBoxedRoundedCircular
Advanced Integration
You may want to display the Subscribe & Connect component on a specific hook that you know exists in the theme or plugin you’re using. Add the hook name here to do so.
↑ Back to top
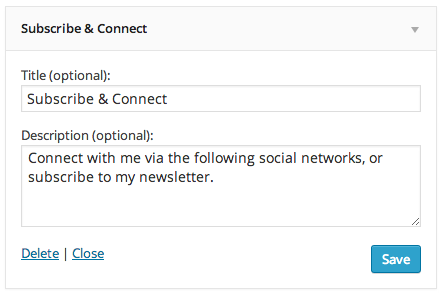
Subscribe & Connect comes with a widget that displays it in any widgetized area on your site. You can add a custom title and description for the widget.
The Subscribe & Connect widget
↑ Back to top
Yes. In fact we recommend that you use this plugin instead, as newer themes rely on it for this functionality. Disable the feature in the theme and install the plugin.
↑ Back to top
Yes. Adding support to other post types is straightforward. To add Subscribe & Connect to pages and posts, insert the following in your child theme’s functions.php file:
↑ Back to top
Yes. This adds the rel="nofollow" attribute to the output markup.
This file contains bidirectional Unicode text that may be interpreted or compiled differently than what appears below. To review, open the file in an editor that reveals hidden Unicode characters.
Learn more about bidirectional Unicode characters
↑ Back to top
Subscribe & Connect includes support for adding custom social network links. This is handled via a small filter, and a snippet of code, placed in either your child theme’s functions.php file, or in your custom plugin.
Use this code snippet to add a custom network:
This file contains bidirectional Unicode text that may be interpreted or compiled differently than what appears below. To review, open the file in an editor that reveals hidden Unicode characters.
Learn more about bidirectional Unicode characters
 More info at Google’s FeedBurner Email Overview and FAQ.