The Checkout Field Editor provides an interface to add, edit and remove fields shown on your WooCommerce checkout page.
This extension is not yet compatible with the Cart and Checkout blocks.
Installation
↑ Back to top- Download the .zip file from your WooCommerce account.
- Go to: WordPress Admin > Plugins > Add New and Upload Plugin with the file you downloaded with Choose File.
- Install Now and Activate the extension.
More information at: Install and Activate Plugins/Extensions.
Setup and Configuration
↑ Back to topGo to: WooCommerce > Checkout Fields.
Fields
↑ Back to topThere are three sets of Fields you can edit:
- Billing – Payment and billing address section of checkout (payment must be enabled)
- Shipping – Shipping section of checkout (shipping must be enabled)
- Additional – Appear after the billing and shipping sections of checkout, next to order notes (order notes must be enabled)
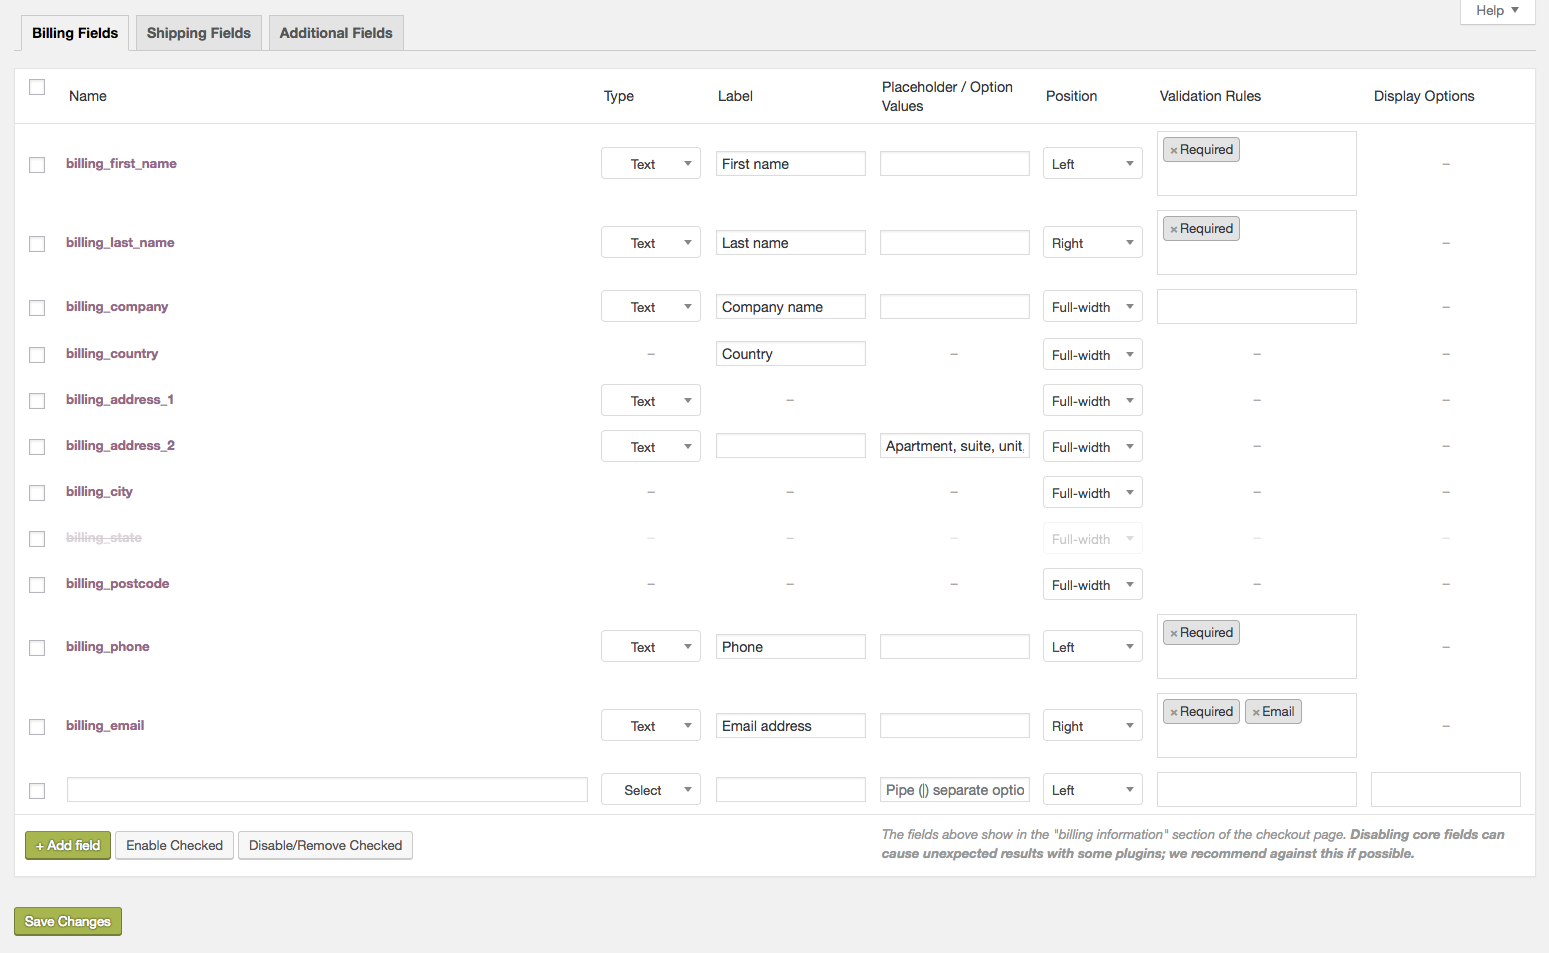
Columns
↑ Back to top- Name – Name of field, which is used as the meta key to save info. Must be unique.
- Type – Field type. See ‘Types’ below.
- Label – Label for input shown in checkout.
- Placeholder / Option values – Placeholder text for inputs OR the options for select boxes, radios etc. Values should be separated by a pipe (|). Two scenarios are explained below:
- An options list starting with a pipe creates an empty choice. Used in conjunction with a required select field, it will force the user to choose a valid option.
- An options list without a pipe as first character will make the first option in the list the default choice whether the field is required or not.
- Position – Left, right or full width. This applies CSS styling to the box.
- Validation rules – Choose validation rules to apply: Email, number, and required are supported.
- Display Options – Options to display fields in Emails (which includes all customer and admin order emails where the address information would be displayed), or Order detail pages (which includes any pages displaying order information, such as the Thank You page and My Account pages on the frontend, and the admin “Edit order” screens). (available in Checkout Field Editor version 1.1.8+)
Types
↑ Back to topThese custom types are supported:
- Text – standard text input.
- Password – password text input.
- Textarea – A textarea field.
- Select – A dropdown/select box. Requires options set.
- Multi-select – A multi-select box. Requires options set.
- Radio – A set of radio inputs. Requires options set.
- Checkbox – A checkbox field.
- Date picker – A text field with a JavaScript data picker attached.
- Heading – Adds a heading to allow separating fields into groups.
Editing core fields
↑ Back to top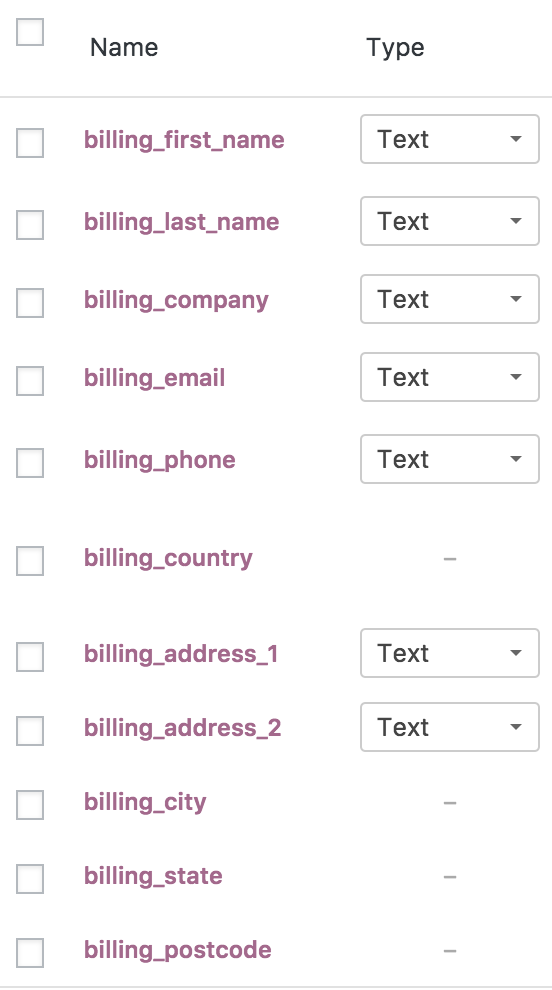
In the Billing and Shipping sections, there are core fields highlighted in purple.
Disabled fields
↑ Back to topSome core fields have options disabled and cannot be changed:
- Names of core fields
- Types of special core fields (country and state)
- Fields that change dynamically based on the chosen country of a user (address 1, address 2, city, state, postcode) cannot have custom validation rules, e.g. Required fields are determined by locale, not by your settings.
With those limitations in mind, you can:
- Change the labels and position of the fields.
- Disable them by ticking the checkboxes per-row and clicking the ‘Disable/Remove’ button. Disabled fields are then greyed out. Use at your own risk.
Re-enable core fields by checking the rows and pressing the ‘enable’ button.
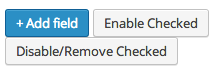
Adding and editing custom fields
↑ Back to topFrom the bottom of the fields table:
1. Select the Add Field button.
Once a field is added, a blank row appears.

2. Enter your text and preferences.
3. Save Changes.
Resetting checkout fields
↑ Back to topTo reset your fields back to the original settings:
- Go to: WooCommerce > Status > Tools.
- Scroll down to Checkout Fields.
- Select the Reset Checkout Fields button. Any customizations to your fields will be removed.
Field display and checking values
↑ Back to topConsider the following date picker field:

In checkout, this is displayed:
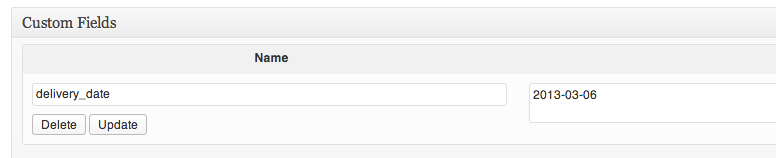
After placing an order, the field will be visible in the Admin section ‘Custom Fields’ panel:
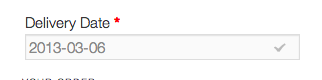
Usage
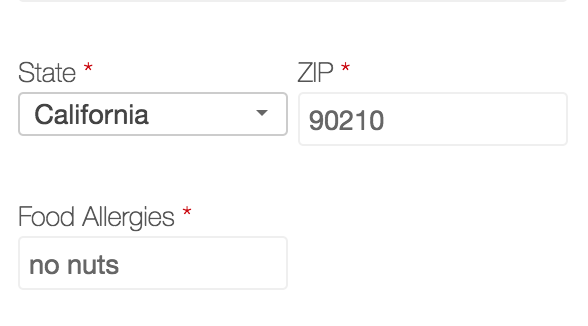
↑ Back to topOn the front end, customers can see and enter info in a custom field displayed during checkout. For example, Delivery Date and then use the datepicker to select one:

Or enter text under Food Allergies:
FAQs
↑ Back to topHow to export custom checkout field data?
↑ Back to topWhen you create a custom checkout field, once the data is captured, it is included in your WooCommerce order data.
To export custom checkout field data, you will need to export WooCommerce order data using WooCommerce Customer / Order / Coupon Export.
Here’s how:
- Go to WooCommerce > Export and select the export type as Orders
- Click Export
The custom checkout field data is included in your exported order data file!
Is the plugin compatible with the Cart and Checkout blocks?
↑ Back to topNo, not at this time.
Customizations
↑ Back to topNote: We are unable to provide support for customizations under our Support Policy. If you need to further customize a snippet, or extend its functionality, we highly recommend Codeable, or a Certified WooExpert.
Use a custom field in the WooCommerce emails
↑ Back to topYou can display your custom fields in emails by using the Display Options column when editing your field. If you are using an older version, or using other custom code/emails you can still use the fields. We have examples of how the fields can be accessed/used via code here: https://woocommerce.com/document/add-a-custom-field-in-an-order-to-the-emails/
Extending the Date Picker Year Range
↑ Back to topIt is possible to extend the year selection range of the date picker fields by placing the following code in your child theme’s “functions.php” file, or in the designated area of your theme’s “functions.php” file:
This adjusts the year selector of the date picker to expand by 40 years.
Setting a default value for a radio button field
↑ Back to topIt’s possible to set a default value for a radio button checkout field by placing the following code in your child theme’s “functions.php” file, or in the designated area of your theme’s “functions.php” file:
The above snippet assumes that the field is a “billing” field, that the field name is “test_radio” and that the desired default value is “one.”
Add custom fields to WebHooks API
↑ Back to topSelect Field Placeholder text
↑ Back to topYou can add placeholder text when using the Select field by adding 2 || to separate the placeholder from the option values.
For example:Placeholder || Option 1 | Option 2 | Option 3
Questions and Support
↑ Back to topSomething missing from this documentation? Do you still have questions and need assistance?
- Have a question before you buy this extension? Please fill out this pre-sales form – please include the name of this extension in your query.
- Already purchased and need some assistance? Get in touch with a Happiness Engineer via the WooCommerce.com Support page and choose this extension name from the “I need help with” dropdown